
There were only a few steps involved for me to remove it. The Haynes that I have says to first remove the lower instrument panel. Well, when I got the car, that panel was already removed, so I was lucky (don't worry, the panel was in the trunk, so I can easily bolt it back on).
Next, locate the three screws at the top of the instrument panel, that are hanging upside down, and unscrew them. I used a Phillips head screwdriver for these screws:


Now would be a good time to mention a really helpful socket toolkit I bought. I got this one:
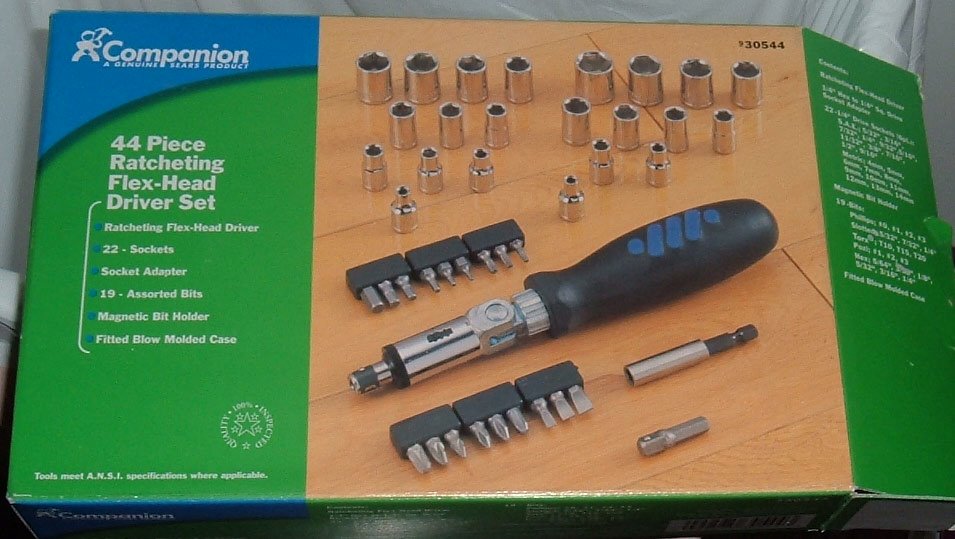
and even though it's probably for amateurs, it really helped me to remove the instrument panel quickly.
Ok, so after you remove those three screws at the top, look up underneath the steering column. You will see two screws to the left and right of the steering column, about 3 inches each from the steering column. I used a hexagonal socket on the socket wrench to unscrew these:

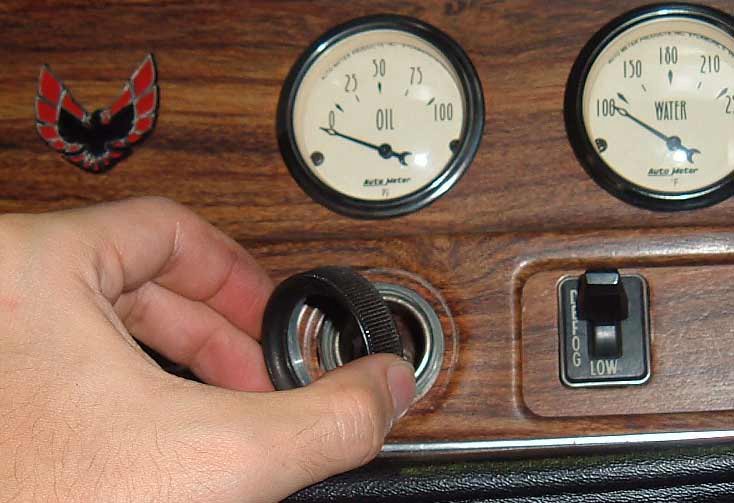
The last thing I had to do was to remove the cigarette lighter parts. You can easily just pull out the cigarette lighter:

and you'll be left with the outer rim of the cigarette lighter. Just twist this hard to the left:

And it will screw off the instrument panel:
Now all that's left to do is pull the panel off! Start with the left side, and put your fingers through the air vent. Then tug it toward you some:
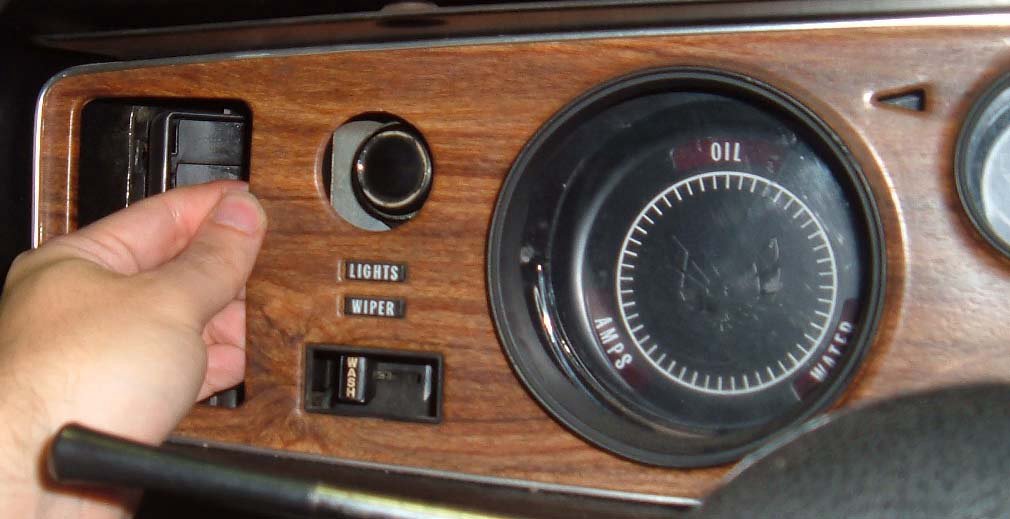
Then you can put your fingers inside the instrument panel on the left, above the air conditioning controls:
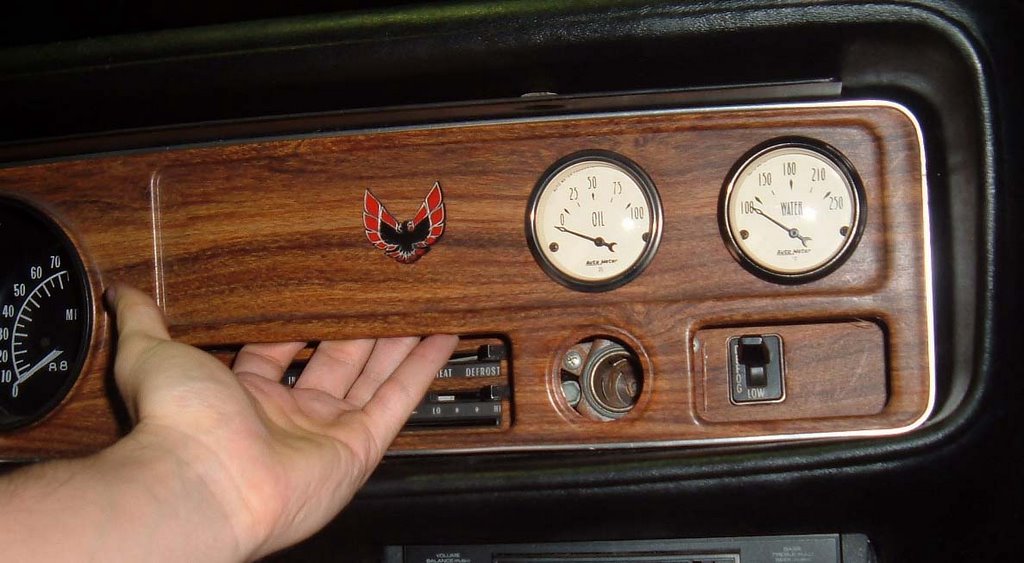
and tug that toward you also. And that was all I had to do to remove the instrument panel!
