So I went to CompUSA yesterday and when I got out of the car, I heard a hissing sound. It sounded like a sprinkler was on but I didn't see one nearby so I thought that was kind of weird. I thought it might be coming from my car, so I popped the hood, and sure enough, there was a little mist spraying out of a rubber hose. This hose:

Well, there was an O'Reilly's auto parts store around the corner, where I picked up a few things, like black tape to wrap around the hole, a new upper radiator hose, some clamps, and other stuff, and I made it home with the tape wrapped around the leak hole and some new antifreeze in the car. When I got home I got out the stuff I knew I was going to need, which were the jack stands that I had gotten from O'Reilly's, a jack to jack up the car, the new radiator hose, my toolbox which contained pliers and flathead screwdrivers, clamps, a worn T-shirt that I use to wipe stuff with, and some paper towels from the restroom at the CompUSA I went. OH, let me say this before I forget to tell you guys: the last time I worked on the car I was bitten by mosquitos a dozen times, so before I went outside to work on the car THIS time, I put some of this stuff called Off! on me:

After spraying this stuff on, no more mosquito problem.
Here's an image of what I brought down with me to work on the car, including the jack stands and the jack. When I'm learning, I like to know what equipment/parts someone is using, what it looks like, and where they got it, so I thought I'd share in case you guys would like to know that also:

The first thing I did was jack up the car.
Now let's talk about this hose. If you noticed in the first image, the upper radiator hose goes underneath the Air Inlet Duct. I know it's called the air inlet duct because I have a Chilton's for this car and that's what it says it is in one of the diagrams. :)
So the first thing I had to do was to take off the air inlet duct in order to get to the upper radiator hose. On the driver's side, the air inlet duct connects to the air cleaner, and there's a screw right where the duct connects to the air cleaner, and I needed to unscrew this to begin taking off the air cleaner duct.

Now at the other end of the air inlet duct, the duct connects to the throttle body, and just like there was a screw at the air cleaner connection, there's a similar screw here also:

Now once these are unscrewed all the way, go back to the air cleaner and just give it a tug upward, and should pop right up. Mine did. This is kind of a bad pic, but here's an image of it anyway:
 Now go back to the throttle body, pull the duct out from there also, and just kinda move this one big piece off to the side so you can have much better access to that radiator hose:
 Now, just underneath and a little to the (passenger) side of the throttle body, the upper radiator hose has a screw that I needed to undo:
After I unscrewed it and pulled the hose off at that spot, I knew there was going to be fluid in there, and to catch the fluid, I just used a large freezer bag:

After that, what I had to do was the same thing but at the other end of the hose. This other end connected to the radiator on the driver's side of the car. The clamp that connected this hose to the radiator was a pain to undo. It was one of those clamps you had to squeeze together to undo. Here's a picture of the type of clamp:

And here's an animation (click the image to see it animate) of how to squeeze them together with a pair of pliers in order to slide the clamp down the hose so you can take it off where the hose is connected to:

So the clamp was facing toward the ground, so I had to get underneath the Camaro:
 And when I got underneath there, looking up (cuz that's pretty much the only place I could look), this is what I saw:
 See the clamp? In order to get to it I had to worm my arms around a little, and put the pliers up against it and squeeze as hard as I could:
 After fighting with it for quite a while, I finally got it to slide down the hose some. After that I got up from underneath the car, and pulled the hose off the radiator. Again, I used a freezer bag to catch some of the fluid.
I then took the new radiator hose and just connected it appropriately, with the new clamps I also got from O'Reilly's (you saw them in the pic with the jacks and jack stand).
Next I just put the air cleaner (along with the air inlet duct) back into place, screwed that screw tightly, just like it was before, and screwed the screw by the throttle body.
I then lowered the car.
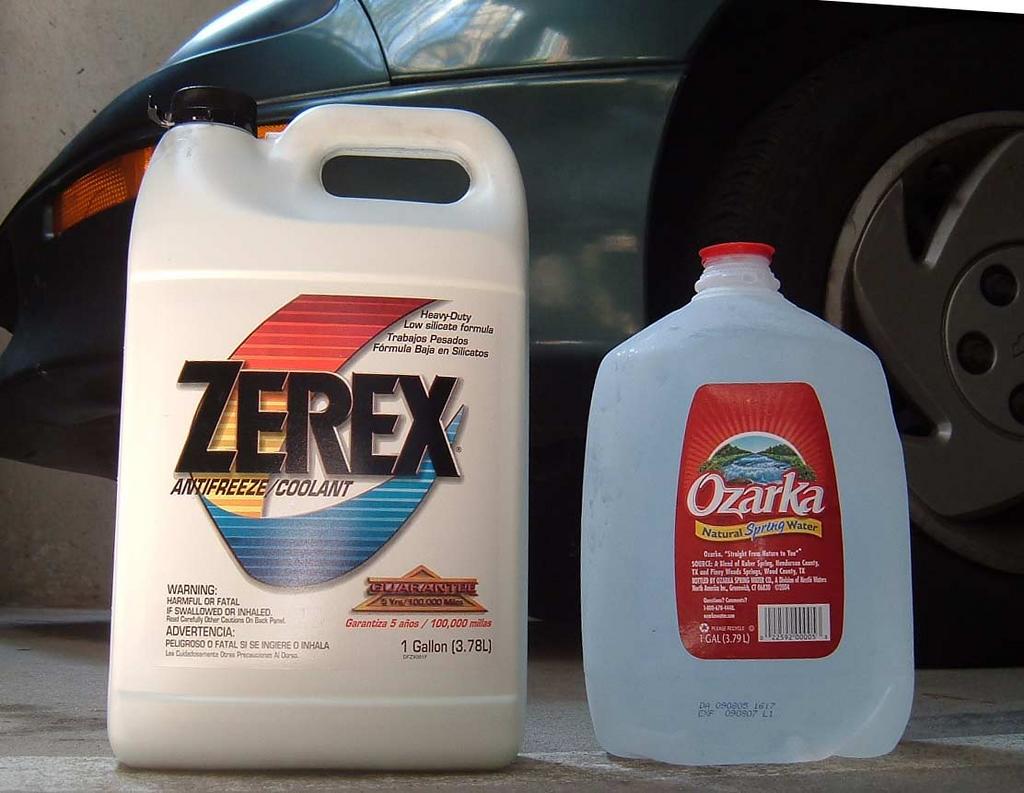
The last thing I wanted to do was put some antifreeze and distilled water into the car. After a leak, I thought it could use more. So I got these:
and here's where you put it:
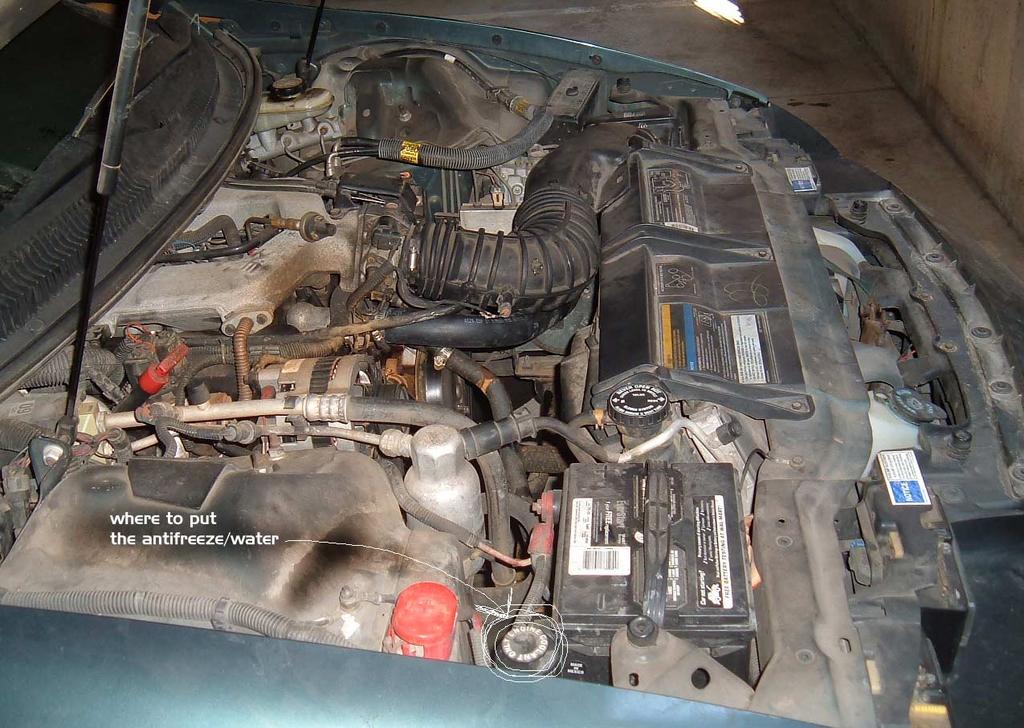

It unscrews easily. Be careful when you're pouring these liquids though because it's right next to the battery.
After I poured the antifreeze/water, I turned the engine on and let it run for a little bit to see if there were any leaks. I didn't see any, so I took it around the block. It ran fine and the temperature seemed to stay low, so I thought I'd mark this one down as a success, cleaned EVERYTHING up (antifreeze is toxic) and start this blog post!
On a side note, I thought this was cool, so I'm sharing...while I was working underneath the car, a lady walked up to me and asked if I was a mechanic. I told her I was actually a mechanic wannabe, and she asked how much I would charge to change the battery on her daughter's convertible Porsche!! I told her I'd do it just for fun, but be on the lookout for my first Porsche post! Ha!